
What the homeowner noticed
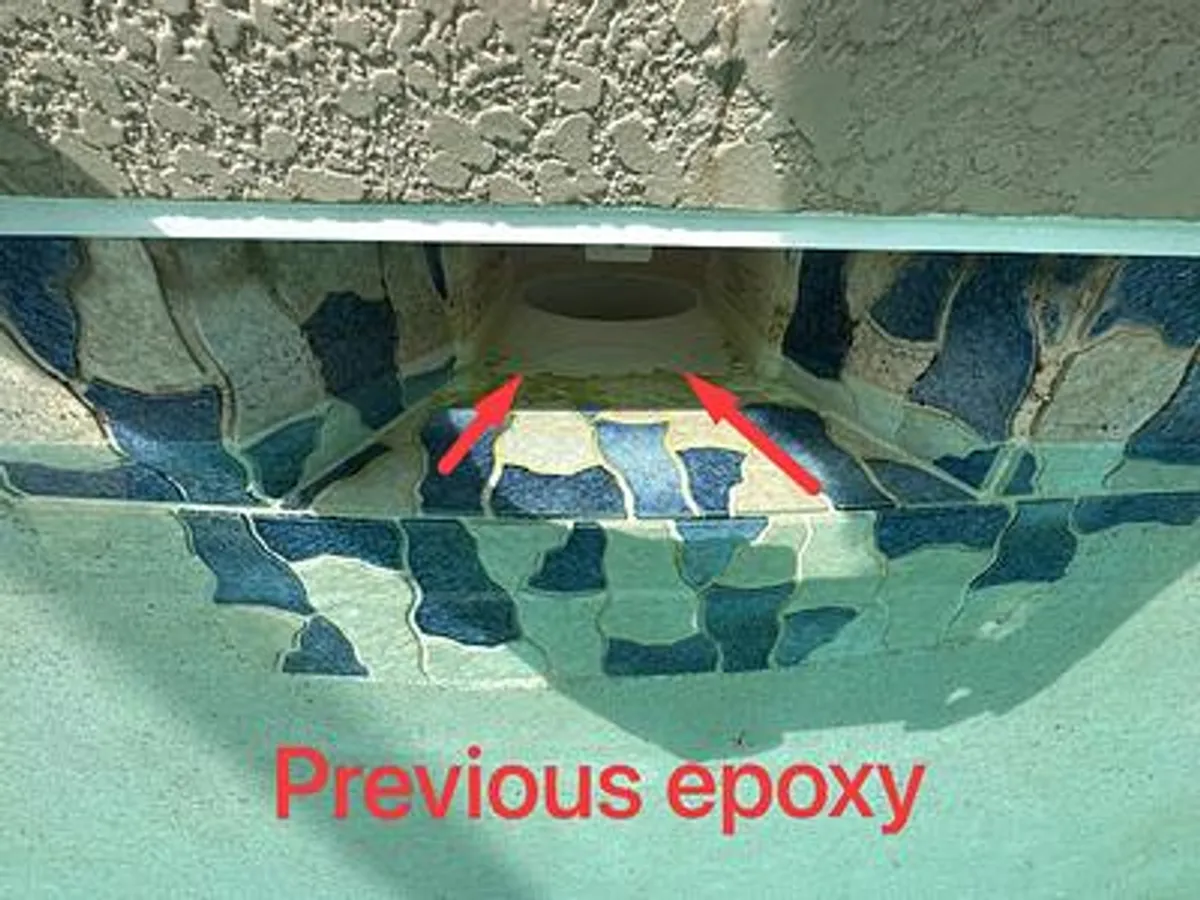
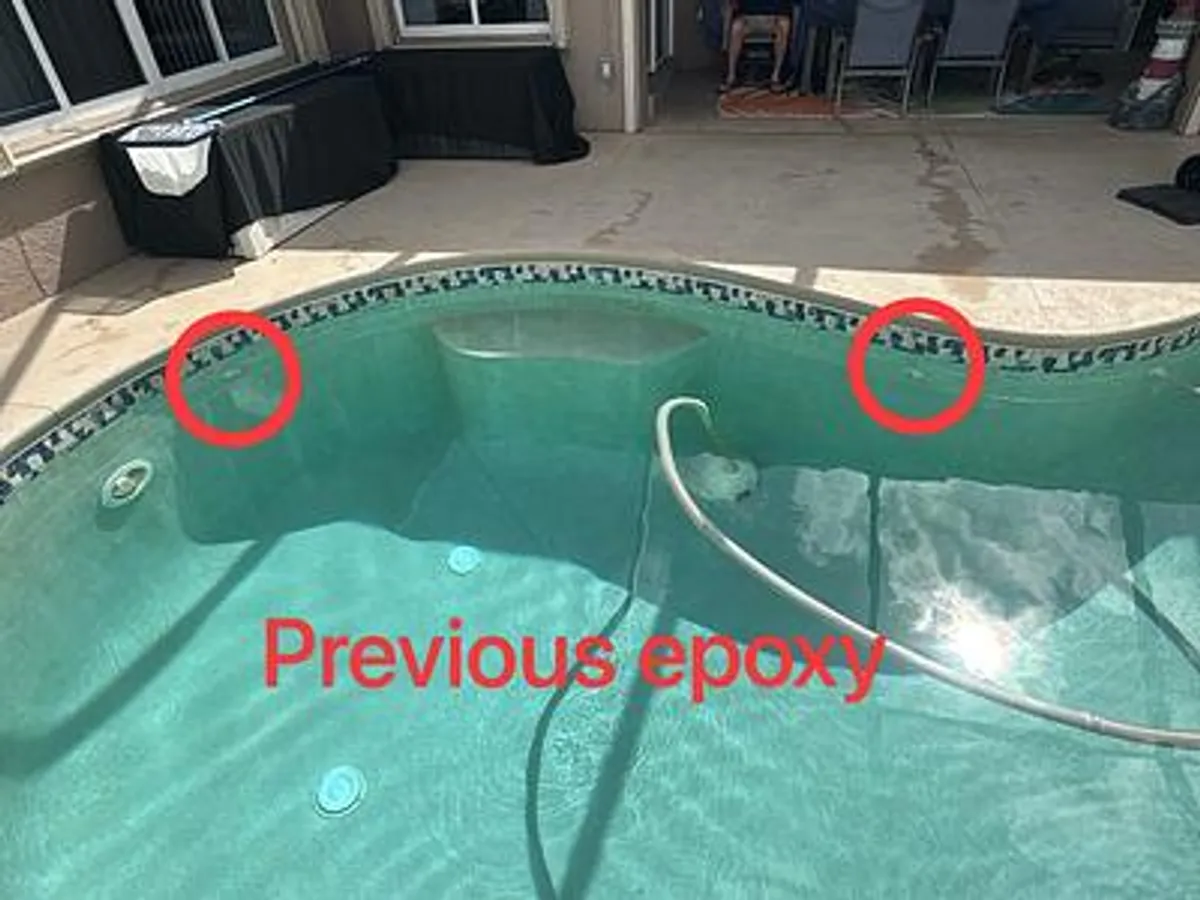
The homeowner called us for a pool leak repair. One clue was easy to spot once we looked closely: old epoxy. Epoxy is a hard, glue-like patch material. In one of our photos, the red arrows point to previous epoxy in the skimmer throat, the opening at the waterline that leads into the skimmer basket. There was also old epoxy around two of the pool returns. Returns are the jets on the wall that push filtered water back into the pool.
When you see old patches like these, it often means someone tried to stop a leak before. Patches can wear out over time, so these spots deserved a careful look.
What we tested and what we found
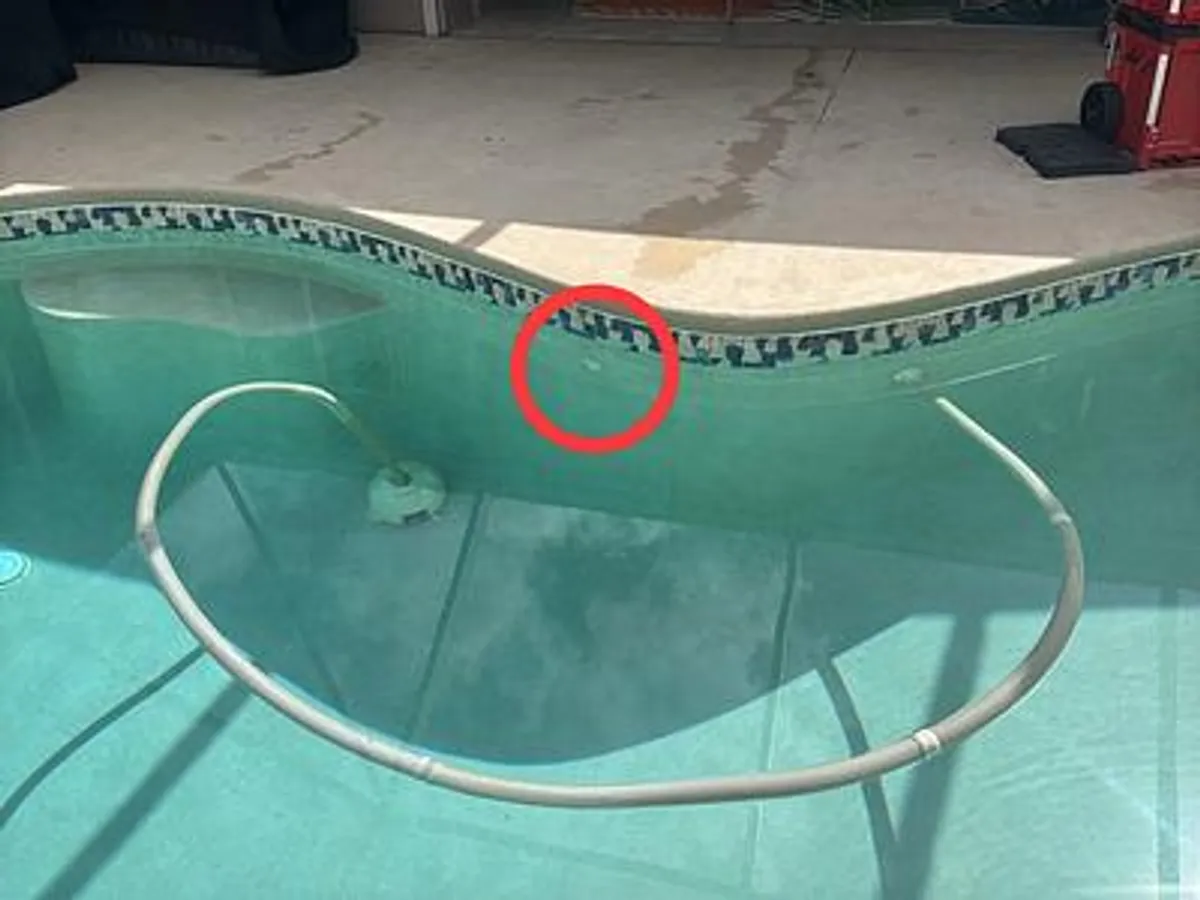
We ran a plumbing test on the suction side. The suction side is the plumbing that pulls water out of the pool, through the skimmer and drain, and back to the pump. That line test passed, so the suction lines were holding water the way they should. With the suction side passing, our attention went to the return fittings in the wall. One of our photos has a red circle on the pool wall near the waterline, marking the area we were concerned about.
The return pipe was broken where the wall fitting and the pipe meet. In plain terms, the pipe had cracked right at the spot where it connects to the fitting on the pool wall. That is a spot where water can slip out of the pool and into the ground behind the shell. The old epoxy in the skimmer throat and around two return fittings was also part of the problem area that needed to be redone.
How we fixed it
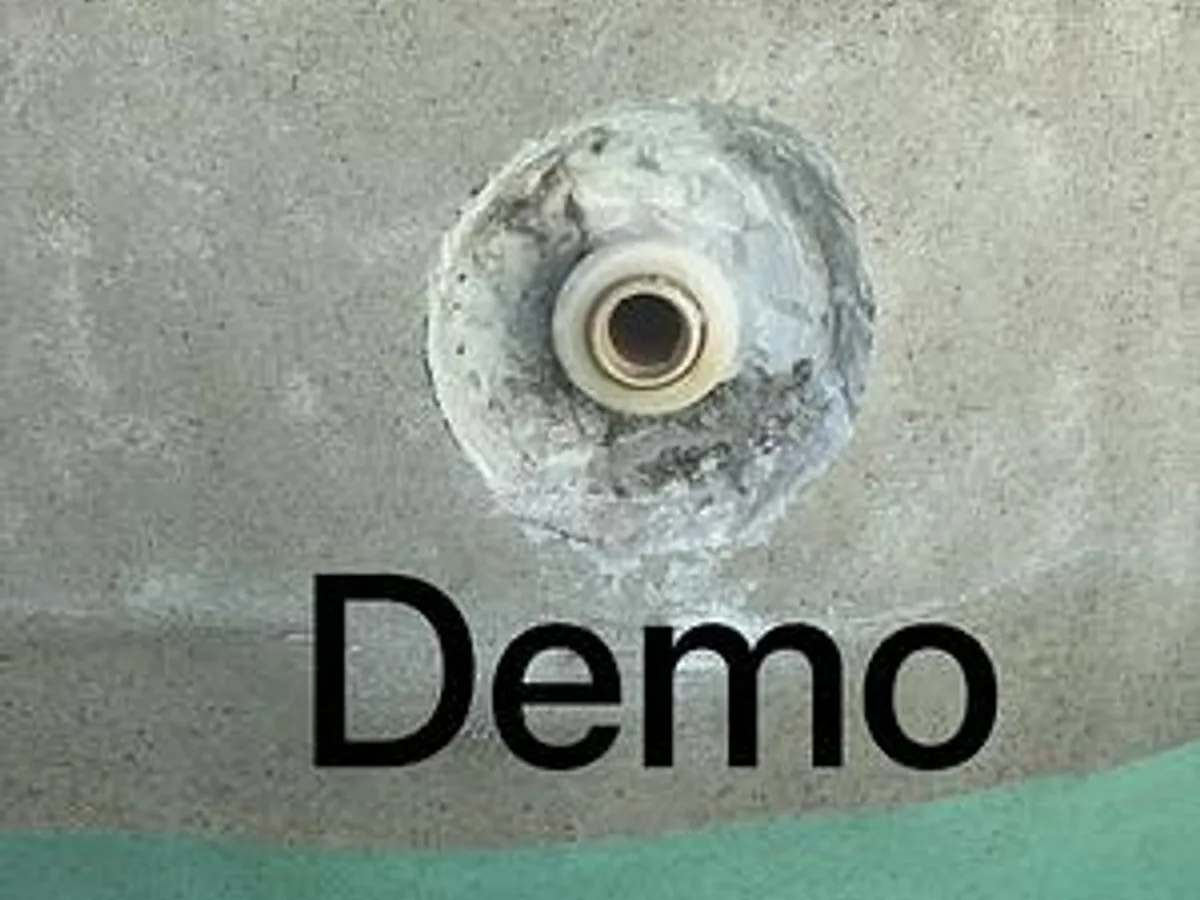
First we drained the pool below the returns so we could work on them dry. Then we demoed (broke out) the skimmer throat and the area around the two leaking fittings. On the return to the right of the bench, we cut out the broken section where the pipe went into the faceplate, the round fitting on the pool wall where a return comes through, and glued on a new faceplate. In the skimmer throat, we applied epoxy where the skimmer butts up against the pool shell. We used hydraulic cement, a fast-setting cement made for wet areas, on all three spots, then finished all three areas with a white plaster patch so the surface is smooth again. This kind of work is part of our skimmer and wall fitting repair.
We also made sure the pump would not turn on by itself while the pool was low. On the timer box, we took off the "on" toggle and set it in the corner of the box. The arrow in that photo shows where it sits. Running a pump with the water too low can let it pull in air and run dry, so this simple step protects the equipment. Once the pool is refilled and the water reaches the proper height, the toggle can go back on and the system can start up again. To finish, we vacuumed the pool so it was clean for refilling.
What it means for this pool
The broken return has been cut out and replaced, and the two leaking fittings and the skimmer throat have been rebuilt and patched. The suction side plumbing already passed its line test. After refilling, the pool can be run on its normal schedule again.
What to do next
If your pool is losing water, look for old epoxy or patch material around the skimmer or returns, cracks or gaps where fittings meet the pool wall, and the water level dropping faster than normal evaporation. Don't guess and keep topping off the pool. A proper leak detection finds where the water is going before any repair begins. Pro Pool Team leak detection starts at $295, and we are a licensed pool contractor (CPC1460553) serving Southwest Florida.
Call Pro Pool Team at (239) 533-5935 or book online at propoolteam.com to get your leak found and fixed.
Losing water in Cape Coral?
Call or text (239) 533-5935 or request service. Leak detection starts at $295.